The Only Solar Panel Calculator for RV Living You'll Ever Need
How to size your panels, batteries, and inverter correctly — based on real mistakes, dead batteries at 2 a.m., and years of boondocking across the USA.
Table of Contents
- 1. Introduction
- 2. Why My RV Batteries Kept Dying
- 3. Biggest RV Solar Sizing Mistake
- 4. Step 1: Calculate Daily Power Load
- 5. Appliance Wattage Table
- 6. Sample Daily Load Calculation
- 7. Step 2: Size Your Solar Panels
- 8. What 400 Watts Really Powers
- 9. Step 3: Calculate Battery Bank
- 10. RV Battery Size Chart
- 11. Lithium vs. Lead-Acid
- 12. Step 4: Charge Controller Sizing
- 13. Step 5: Inverter Sizing
- 14. Real RV Sizing Examples
- 15. Cloudy Weather & Shade
- 16. Can I Use 435W Panels on My RV?
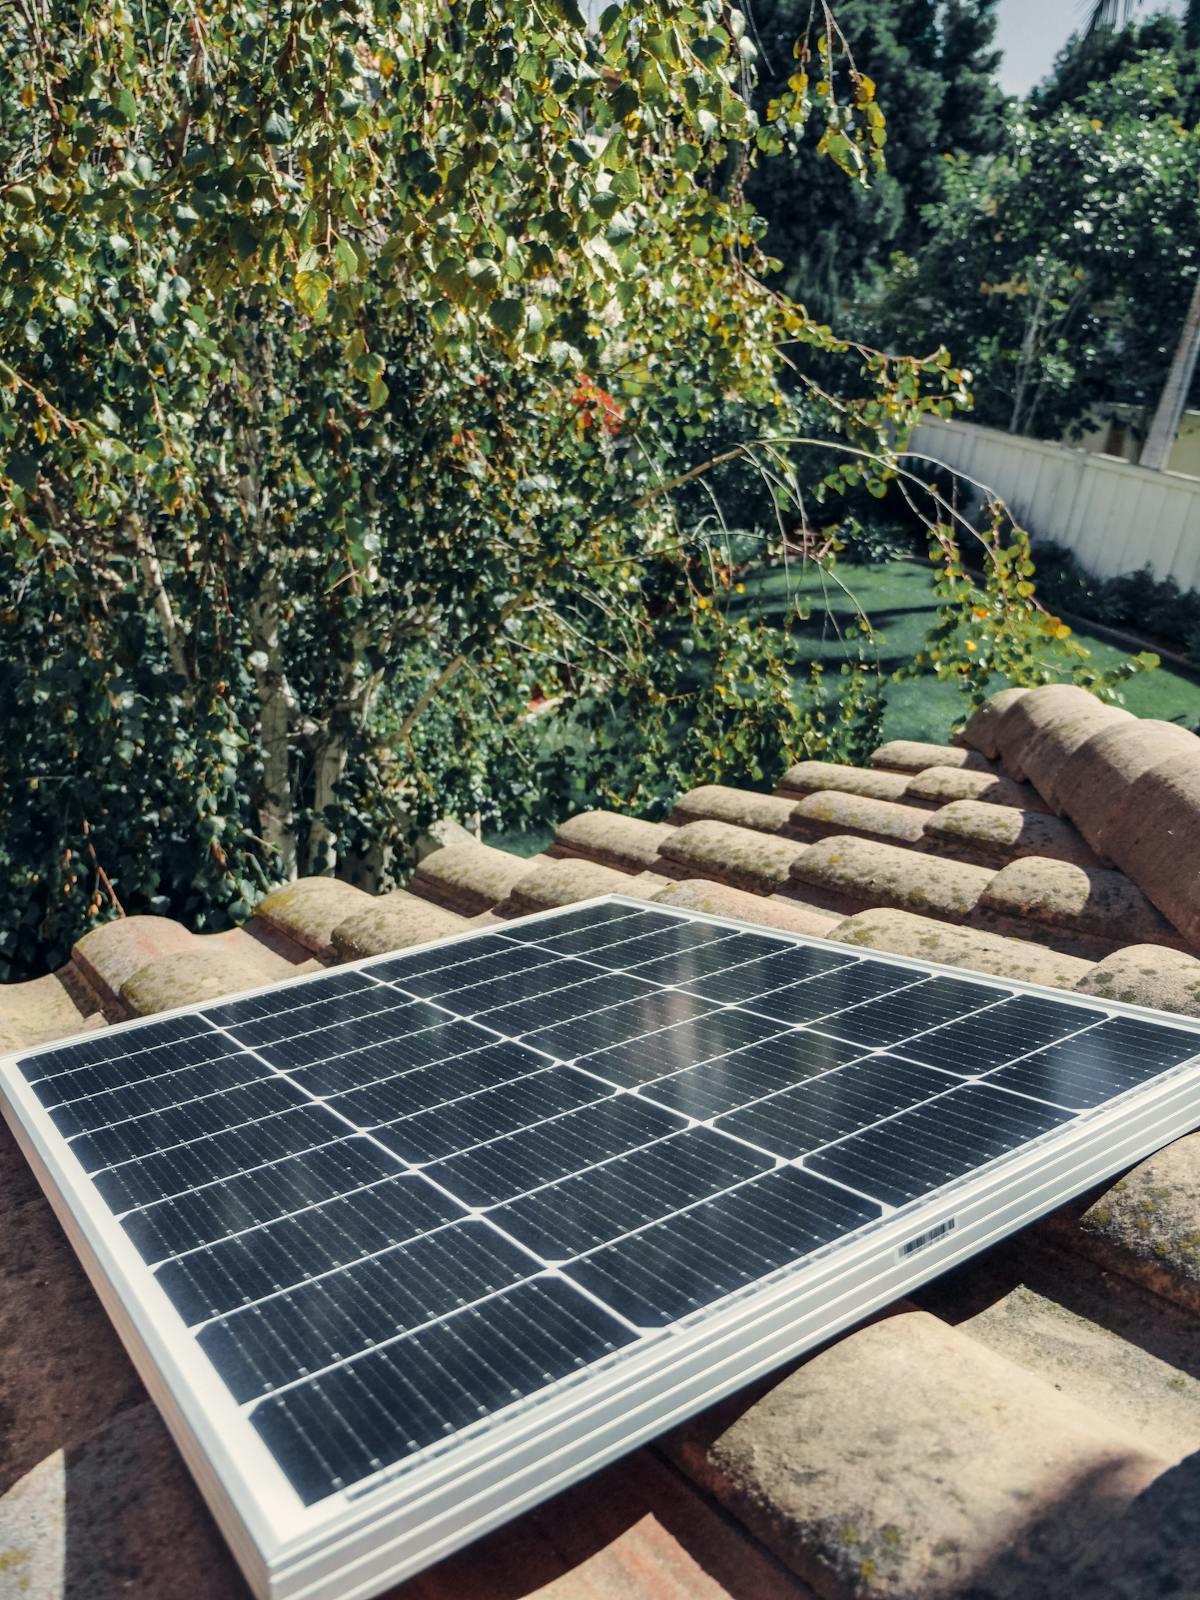
- 17. Mounting Solar Panels on RV Roof
- 18. Victron Inverter RV Installations
- 19. Building a 50 Amp RV Solar System
- 20. DIY vs. Hiring an Installer
- 21. RV Solar Cost Calculator
- 22. Are Bifacial Panels Worth It?
- 23. Free Solar Calculator Tools
- 24. What Calculators Get Wrong
- 25. FAQs

I've killed more RV batteries than I care to admit. I've watched my inverter shut down mid-coffee-grind. I've sat in 95° heat in the Arizona desert wondering why my "400-watt solar system" couldn't keep two fans running. The answer, every single time, was the same: I didn't do the math before I built the system. This guide fixes that for you — permanently.
Whether you're sizing a system for a weekend Class B van or building a full-time off-grid power setup for a 40-foot Class A motorhome, this solar panel calculator for RV living walkthrough gives you the actual numbers, the real formulas, and the hard lessons from someone who learned them the expensive way.
Why My RV Batteries Kept Dying Overnight

It was a Tuesday night outside Moab, Utah. I went to bed with both Group 24 lead-acid batteries at what I thought was a healthy charge. By 4 a.m., the CO detector started chirping — that low-battery warning beep that makes your heart race. My batteries were at 11.2 volts. Dead.
I had a 200-watt solar panel on the roof. A 30-amp PWM charge controller. Two 100Ah lead-acid batteries. And a fridge running all night. On paper, it sounded reasonable. In practice, I had no idea how much power I was actually consuming, or how much my panels were actually delivering after accounting for shade, heat, and real-world inefficiencies.
That night started my obsession with understanding RV solar math — really understanding it, not just guessing. If you're reading this, you're probably somewhere on the same journey.
Hard truth: Most RV solar setups fail not because the components are bad — but because the system was sized on gut feeling instead of actual load calculations. A proper RV solar system size calculator prevents this entirely.
The Biggest RV Solar Sizing Mistake I Made

I bought panels before I calculated my load. That's the mistake. I thought "more watts = more power" and called it done. It doesn't work that way.
Here's the truth: a 400-watt solar array only produces 400 watts under ideal lab conditions — perpendicular sun, 77°F, zero shading, clean panels. In real RV life, you're lucky to get 70–80% of rated output. On a hot summer day with your panels getting baked at 140°F on a black roof, output can drop another 10–25% from temperature derating alone.
The right order for any RV solar calculator process is:
- Calculate your daily power consumption (watt-hours per day)
- Size your battery bank to store enough energy
- Size your solar panels to reliably refill those batteries
- Size your charge controller to match
- Size your inverter for your AC loads
Most people do step 3 first. That's how you end up with dead batteries in Moab at 4 a.m.
Step 1: Calculate Your Daily Power Load (RV Wattage Calculator for Solar)

This is your foundation. Everything else flows from this number. You need to figure out your daily energy consumption in watt-hours (Wh).
The formula is dead simple:
Watts × Hours = Watt-hours per day
Total Wh × 1.25 = Real daily load
This number drives every other calculation in your rv solar system size calculator.
The Appliance Wattage Table Every RVer Needs

Use this as your rv appliance wattage calculator. These are real-world power draws — not manufacturer marketing numbers. I've measured most of these personally with a Kill-A-Watt meter.
| Appliance | Typical Wattage | Avg. Daily Hours | Daily Wh | Notes |
|---|---|---|---|---|
| 12V RV Fridge (compressor) | 40–60W avg | 24 (cycling) | 300–500 | Biggest constant load |
| Residential Fridge (converted) | 100–150W avg | 24 | 800–1,200 | Requires large inverter |
| LED Lights (4–6 fixtures) | 30–60W total | 4–6 | 120–360 | Huge upgrade from incandescent |
| Laptop / MacBook | 45–90W | 4–8 | 180–720 | Varies by model |
| Phone Charging (2 phones) | 20–30W | 2 | 40–60 | Minimal load |
| 12V Fan (single) | 15–30W | 8–12 | 120–360 | MaxxAir/Fantastic Vent |
| RV Solar Exhaust Fan | 5–25W | 8–12 | 40–300 | Great for ventilation |
| Water Pump (12V) | 30–60W | 0.5–1 | 15–60 | Runs in short bursts |
| Coffee Maker (120V) | 800–1,200W | 0.25 | 200–300 | Requires inverter |
| Instant Pot / Pressure Cooker | 700–1,000W | 0.5 | 350–500 | High surge draw |
| Microwave (120V) | 800–1,500W | 0.15 | 120–225 | Needs 2,000W+ inverter |
| Rooftop AC (13,500 BTU) | 1,300–1,800W | 4–8 | 5,200–14,400 | Solar alone rarely practical |
| CPAP Machine | 30–60W | 8 | 240–480 | Use 12V adapter for efficiency |
| TV (32–40 inch) | 50–100W | 2–4 | 100–400 | 12V TV is more efficient |
| Starlink Internet Dish | 50–75W avg | 8–12 | 400–900 | Significant hidden load |
| Diesel/Propane Heater Blower | 10–30W | 8–12 | 80–360 | Webasto, Espar, Propex |
| Solar Water Heater Pump | 10–30W | 4–8 | 40–240 | If running solar thermal loop |
| Work Lights / Desk Lamp | 10–40W | 4 | 40–160 | Switch to LED always |
Pro tip: Use a Kill-A-Watt meter ($25 on Amazon) to measure your actual appliances for a week before you design anything. Manufacturer specs are often off by 20–40%. Real numbers always beat guesses in an rv energy consumption calculator.
Sample Daily Load Calculation: Weekend Couple in a Travel Trailer
| Load Item | Calculation | Daily Wh |
|---|---|---|
| 12V Compressor Fridge | 50W × 24h | 1,200 Wh |
| LED Lights | 40W × 5h | 200 Wh |
| Fans (2) | 40W × 10h | 400 Wh |
| Phone Charging | 25W × 2h | 50 Wh |
| Laptop | 60W × 5h | 300 Wh |
| Water Pump | 40W × 0.5h | 20 Wh |
| Coffee Maker (morning) | 1,000W × 0.2h | 200 Wh |
| Raw Total | 2,370 Wh | |
| × 1.25 inefficiency | 2,962 Wh | |
| Round up to | ≈ 3,000 Wh/day |
Everything else in your rv solar energy calculator builds from this number. For a ready-made tool, try our RV Solar Calculator to run your scenario instantly.
Step 2: Size Your Solar Panels Using an Off-Grid RV Solar Calculator

Now you know your daily consumption. The next step is figuring out how many panels you need to replace those watt-hours every day.
The key variable here is Peak Sun Hours (PSH) — the number of hours per day your location receives direct, full-strength sunlight. This varies dramatically by geography and season.
| Location | Summer PSH | Winter PSH | Annual Avg |
|---|---|---|---|
| Phoenix / Tucson, AZ | 7.0–8.0 | 5.0–6.0 | 6.5 |
| San Diego / Southern CA | 6.0–7.0 | 4.5–5.5 | 5.8 |
| Northern California | 6.0–7.0 | 3.0–4.0 | 5.0 |
| Texas Hill Country | 6.5–7.5 | 4.5–5.5 | 6.0 |
| Colorado / Utah Desert | 6.5–7.5 | 4.0–5.5 | 6.0 |
| Pacific Northwest (OR/WA) | 4.5–6.0 | 2.0–3.0 | 4.0 |
| Florida | 5.5–6.5 | 4.5–5.5 | 5.5 |
| Northeast USA | 4.5–5.5 | 2.5–3.5 | 4.0 |
| Conservative planning standard | Use 4.0 PSH |
RV Solar Panel Sizing Formula
Example: 3,000 Wh/day
Step 2: Divide by your peak sun hours.
3,000 Wh ÷ 4.0 PSH = 750 watts needed
Step 3: Divide by real-world efficiency factor (0.80).
750W ÷ 0.80 = 937W → round up to 1,000 watts
Result: For this weekend couple — 1,000 watts of solar. That's roughly three 350W panels or two 500W panels on a typical travel trailer roof.
What 400 Watts of Solar Really Powers in a Camper
People always ask me this, and the honest answer surprises them. A 400-watt solar array in a van or small camper, with 4.5 PSH and real-world efficiency, produces roughly:
That's enough for:
- A 12V compressor fridge running 24/7 (~500–700 Wh)
- LED lights for 5–6 hours (~200 Wh)
- Phone and tablet charging (~100 Wh)
- A 12V fan running all night (~300 Wh)
That's genuinely comfortable for a solo traveler or a couple with no big AC loads. But add a coffee maker, a laptop, and Starlink — and you've burned through your daily solar harvest before dinner.
The most common sizing mistake I see in boondocking forums: people size for a good summer day in Arizona. Then they drive to Oregon in October and wonder why their batteries are dying every night. Always size for your worst-case scenario — the cloudy weeks, the shaded campsites, the dark winter mornings.
Step 3: Calculate Your RV Battery Bank — How Many Amp Hours Do You Need?

Your battery bank holds the power your panels produce during the day so you can use it at night. Sizing this correctly matters just as much as sizing your panels.
First, convert your daily watt-hours to amp-hours (Ah), since batteries are rated in Ah at 12V:
3,000 Wh ÷ 12V = 250 Ah consumed per day
Step 2 (Lead-acid): Only use 50% of rated capacity. Multiply by 2.
250 Ah × 2 = 500 Ah lead-acid bank needed
Step 3 (Lithium LiFePO4): Use 80–90% of rated capacity. Multiply by 1.2.
250 Ah × 1.2 = 300 Ah lithium bank needed
Step 4: Add a buffer for 2 cloudy days of autonomy. Double your bank size.
300 Ah lithium × 2 = 600 Ah lithium recommended
Our Battery Storage Guide covers every battery chemistry, BMS requirement, and sizing scenario in full detail.
RV Battery Size Chart: Quick Reference
| Daily Consumption | Lead-Acid Bank | Lithium Bank | Typical Setup |
|---|---|---|---|
| Under 500 Wh/day | 200 Ah | 100 Ah | Solo van, minimal loads |
| 500–1,200 Wh/day | 400 Ah | 200 Ah | Couple, weekend boondocking |
| 1,200–2,500 Wh/day | 600–800 Ah | 300 Ah | Full-time couple, work from RV |
| 2,500–4,000 Wh/day | 1,000 Ah+ | 400–500 Ah | Family rig, home office |
| 4,000 Wh/day+ | Impractical | 600–800 Ah | Full-time family + big appliances |
Lithium vs. Lead-Acid: What the RV Solar Calculator Numbers Actually Mean

When you run the numbers through an rv battery runtime calculator solar model, lithium wins on almost every metric:
| Factor | Lead-Acid (AGM/Flooded) | Lithium (LiFePO4) |
|---|---|---|
| Usable capacity | 50% of rated | 80–90% of rated |
| Cycle life | 300–500 cycles | 2,000–4,000 cycles |
| Weight (200Ah) | ~130 lbs | ~55 lbs |
| Charge acceptance | Slow (C/5 rate) | Fast (C/2 or better) |
| Performance in cold | Good | Poor below 32°F |
| Cost (200Ah) | $250–$400 | $600–$1,200 |
| 10-year cost of ownership | Higher (replace 4–6×) | Lower (usually 1 set) |
| Best for | Budget builds, cold climates | Full-time RVers, hot climates |
The rv solar + lithium battery upgrade cost in California runs roughly $600–$1,200 per 100Ah of quality LiFePO4 capacity. Budget brands run cheaper but have spotty BMS quality — don't cut corners here.
My recommendation: If you're full-timing or spending more than 60 nights a year boondocking, lithium pays for itself within 3–4 years versus replacing AGM batteries twice. The best lithium battery for rv solar systems right now sits in the 100–300Ah range from Battle Born or EG4 — both have solid BMS protection and handle high charge rates well.
Step 4: Sizing Your Solar Charge Controller for Your RV
The solar charge controller sits between your panels and your batteries. Always use MPPT for systems above 200 watts. PWM wastes 20–30% of your panel output when there's any voltage mismatch. MPPT extracts maximum power regardless of voltage — especially valuable in morning and evening light, and on cloudy days.
Sizing formula:
1,000W ÷ 12V = 83.3A → use a 100A MPPT controller
For a 48V system (rv 48 volt solar kit), divide by 48 instead:
1,000W ÷ 48V = 21A → a 40A MPPT controller works
Also check your panel's open-circuit voltage (Voc) — make sure it doesn't exceed the controller's max input voltage. Most 40–60V Voc panels work fine with 100V input controllers.
Popular reliable options: Victron SmartSolar MPPT 100/50, 150/70, or 150/100. Renogy Rover 40A or 60A for budget builds.
A Victron inverter rv solar installation in Northern California typically uses Victron's SmartSolar MPPT controllers paired with Victron Multiplus inverter-chargers — giving you real-time monitoring via the VRM portal and the cleanest whole-system integration available. Track your system performance with our Smart Monitoring Solutions guide.
Step 5: What Size Inverter Does Your RV Actually Need?
Your inverter converts DC battery power to AC power for standard household appliances. Size it wrong and it shuts down under load — or you waste money on idle standby draw.
| RV Lifestyle | Inverter Size | Handles | Type |
|---|---|---|---|
| Minimal use | 300–600W | Coffee maker, blender, laptop | Pure sine or modified |
| Weekend warrior | 1,000–1,500W | Coffee maker, low-power microwave | Pure sine recommended |
| Full-time boondocker | 2,000–3,000W | Microwave, Instant Pot, tools | Pure sine required |
| Family / work from RV | 3,000–5,000W | Most household loads, mini-split | Pure sine only |
| AC-capable system | 3,000–6,000W | Small rooftop AC | Pure sine + large battery |
Always use pure sine wave. Modified sine wave destroys CPAP machines, certain battery chargers, and many modern appliances. The $50 savings isn't worth it.
Pay attention to surge ratings. A microwave rated at 1,000 watts continuous might pull 1,800 watts on startup. Your inverter needs to handle that surge. A solid rule: buy an inverter rated at 1.5–2× your largest single continuous load.
Real RV Solar System Sizing Examples (Small to Large)

Example 1 — Small RV Solar Calculator: Solo Van Dweller
Example 2 — Mid-Size: Full-Time Couple in a 5th Wheel
Example 3 — 50 Amp RV Solar System: Family Motorhome with Office
For van and boat life solar builds, see our dedicated Van & Boat Life Solar Guide for specialized configurations.
How Cloudy Weather and Shade Wreck Your RV Solar Output

I spent three weeks in the Pacific Northwest one October and my 800-watt array was averaging 400–600 Wh per day. That's less than 20% of its rated capacity — because of persistent overcast and rain.
Real-world cloudy weather derating factors:
- Thin high clouds: 10–25% reduction in output
- Broken overcast: 40–60% reduction
- Heavy overcast / rain: 70–90% reduction
- Full shade (tree camp): 85–100% reduction
Shade tolerance matters enormously in rv solar system optimization. If you plan to camp under trees regularly, you need panels with bypass diodes and a larger battery bank to ride out low-production days.
Bifacial solar panels recover some energy on cloudy days by capturing diffuse light on both sides of the panel. On a bright white RV roof, bifacial panels can add 5–15% extra production. For full-time RVers, that efficiency gain adds up meaningfully over years.
Can I Use 435W Solar Panels on My RV? Voltage Compatibility and Mounting Reality

This question comes up constantly as residential solar panels get bigger and cheaper. A 435-watt panel is typically a 144-cell panel measuring around 78 × 43 inches. That's a big piece of glass.
Voltage compatibility: Most 435W residential panels have an open-circuit voltage (Voc) of around 41–49V. A quality MPPT controller rated for 100V+ input handles this fine. Check your controller's specs first. PWM controllers are not compatible with these panels.
Physical fit: The mounting challenge is real. A 435W panel measures roughly 6.5 feet × 3.5 feet. That's close to the full width of many RV roofs. You might fit one on a wide motorhome roof, but two side-by-side requires careful planning around vents, AC units, and antenna mounts. Measure first — always.
Mounting Solar Panels on an RV Roof: What Nobody Tells You
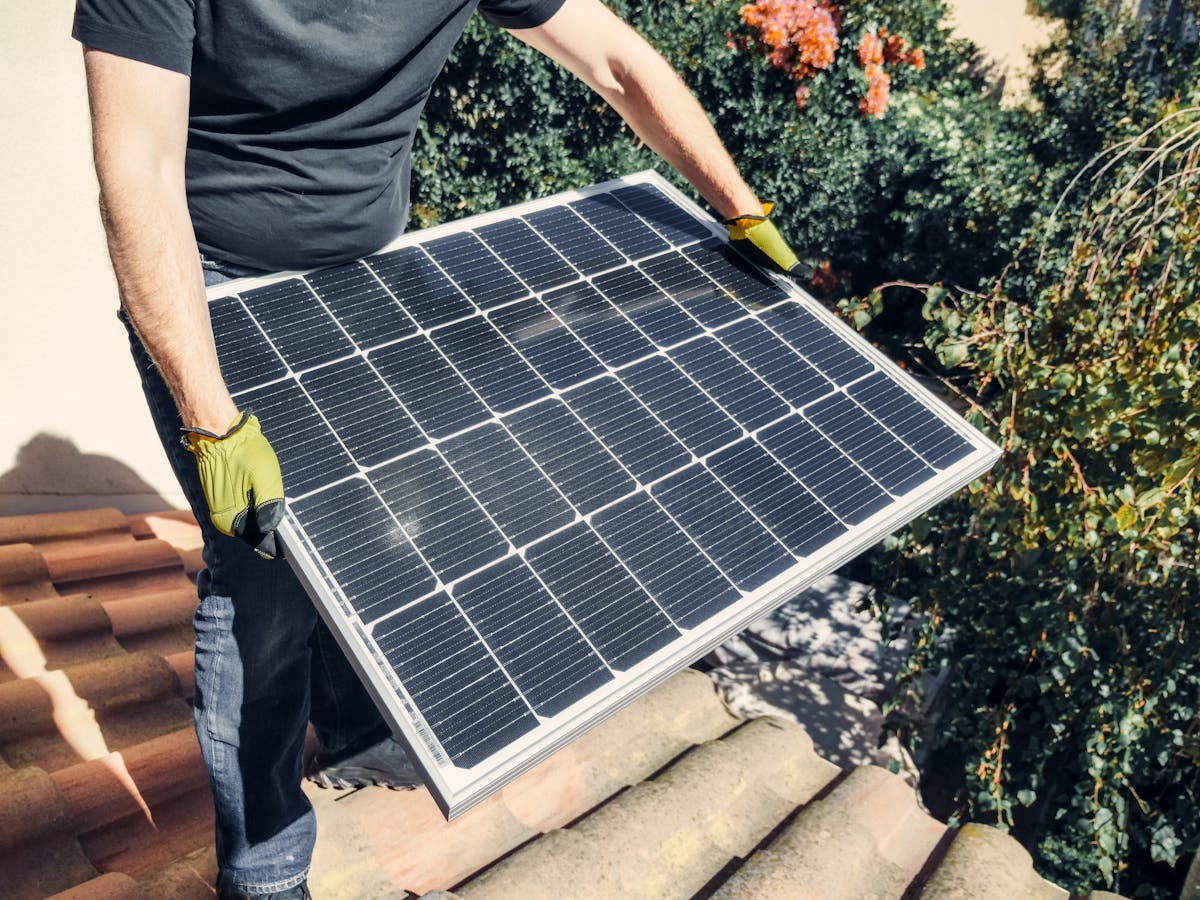
I've mounted panels on five different rigs — a Class C, two travel trailers, a cargo van, and a 5th wheel. Here's what I know from real experience:
- Weight distribution matters. Panels toward the center of the roof minimize stress on roof structure. Don't overload the rear or front overhang.
- Tilt brackets add 15–30% more production in winter but create wind resistance. Flat-mount is more aerodynamic and usually sufficient in sun-belt states.
- Mounting solar panels on the roof of an rv without proper sealant is the #1 cause of water damage I've seen. Seal every hole, every time — no exceptions.
- Wire entry through the roof: Use a waterproof cable entry gland, not a simple grommet. Route 10 AWG wire minimum for runs under 20 feet.
- Heat gap matters: Leave at least 2–3 inches of airspace under the panels. Panels flush to the roof trap heat and lose 10–15% efficiency on hot days.
An rv solar combiner box on the roof simplifies wiring when running multiple panels. You combine outputs there and run a single pair of larger wires into the rig — cleaner and safer than multiple pairs through the roof.
Use Z-brackets or aluminum tilt-mount extrusion. The best rv roof solar brackets come from AM Solar, Renogy, or cut-to-length Unistrut. Drill into roof ribs, not the roof skin — and use self-leveling lap sealant generously around every penetration.
Learn how to track and optimize your installation performance with our Solar Maintenance Guide.
Victron Inverter RV Solar Installations in Northern California
Northern California is an interesting RV solar market. You get excellent summer sun in the Central Valley and along the coast near Mendocino, but dramatically reduced winter production in the Bay Area and Sierra Nevada foothills.
Victron Energy has become the go-to brand for serious rv solar and power management system installers in this region. Their products communicate with each other over VE.Direct and VE.Bus protocols. Your battery monitor, MPPT controller, and Multiplus inverter all connect to a Cerbo GX hub, which uploads data to Victron's free VRM cloud portal. You monitor your full system from your phone in real time.
For a Victron-based build in NorCal, local installers typically charge $150–$200/hour labor. A full 800W + 400Ah lithium Victron system professionally installed runs $8,000–$13,000 depending on complexity. DIY cuts that 40–50% but requires solid DC electrical knowledge.
If you're searching for rv solar panel installation near me in Northern California, look for RVIA-certified technicians or check RVSolarElectric.com and AM Solar — they ship and install across the West Coast.
California homeowners can also use our dedicated Solar Calculator for California Home for state-specific savings estimates.
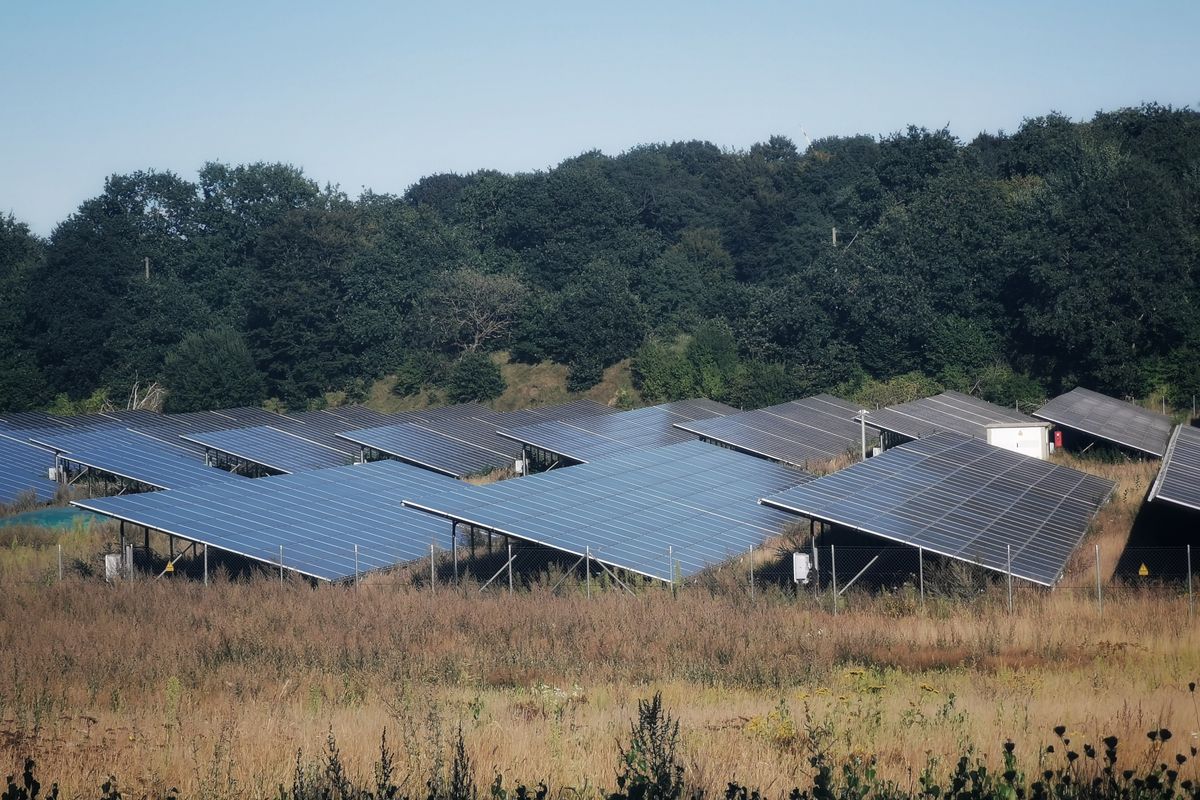
Building a 50 Amp RV Solar System That Won't Let You Down

A 50-amp RV service handles 50A × 120V = 6,000 watts of total potential draw. Running a true 50-amp equivalent off solar and batteries is ambitious — it means multiple AC loads running simultaneously and likely a rooftop AC.
For a practical 50 amp rv solar system that handles real loads:
- Solar: 1,600–2,000 watts minimum (four to six 400W panels)
- Battery bank: 600–800 Ah LiFePO4
- Inverter-charger: Victron Multiplus-II 3000 or equivalent
- Charge controller: Two Victron MPPT 150/100 units in parallel, or one Victron MPPT 250/100
- Alternator charging: Victron Orion-Tr DC-DC charger for charging while driving
- Shore power integration: The Multiplus-II automatically switches between solar/battery and shore power — seamless passthrough
Managing an rv solar and power management system at this scale benefits enormously from a Battery Management System (BMS) integrated with your lithium bank and a Cerbo GX monitoring hub so you see state of charge, solar input, and loads at a glance.
DIY RV Solar vs. Hiring an RV Solar Installer Near You

| Factor | DIY RV Solar | Professional Installer |
|---|---|---|
| Cost | 30–50% cheaper | Higher upfront, warranty coverage |
| Time | 1–3 weekends | 1–3 days shop time |
| Knowledge required | DC wiring, Ohm's law, fusing | Just write the check |
| Code compliance | Your responsibility | Usually included |
| Troubleshooting | You figure it out | Warranty support |
| Best for | Handy people, budget builds | First-timers, complex systems |
If you're going DIY, the rv solar panel wiring diagram from Renogy or Victron's documentation is your starting point. Download the rv solar wiring schematic specific to your charge controller before you buy a single wire. Sizing wire gauge correctly is not optional — undersized wires cause fires.
General rule: for a 12V system, voltage drop should stay under 3% on any run. Use an online voltage drop calculator and double-check before you crimp anything. Review our Engineering Disclaimer for important technical guidance notes.
RV Solar Cost Calculator: What Will This Actually Run You?

| Component | Budget Build | Mid-Range Build | Premium Build |
|---|---|---|---|
| Solar Panels (400W / 800W / 1,200W) | $280–$360 | $560–$720 | $1,200–$1,800 (bifacial) |
| Batteries (100Ah / 200Ah / 400Ah Li) | $600–$800 | $1,200–$1,600 | $2,800–$4,000 |
| MPPT Charge Controller | $80–$160 (Renogy) | $200–$350 (Victron 100/50) | $450–$650 (Victron 150/100) |
| Inverter / Inverter-Charger | $120–$250 (1,000W) | $500–$900 (2,000W) | $1,200–$1,800 (3,000W) |
| Wiring, Fuses, Breakers, Bus Bars | $150–$250 | $250–$400 | $400–$700 |
| Mounting Hardware | $80–$150 | $150–$300 | $300–$600 |
| Total DIY Estimate | $1,300–$1,970 | $2,860–$4,270 | $6,350–$9,550 |
| Professional Install Add-On | +$500–$1,000 | +$1,500–$3,000 | +$2,000–$5,000 |
The rv solar upgrade premium lithium battery path costs more upfront but pays dividends over years. Don't save $300 by buying a no-name LiFePO4 battery with no real BMS data — those are the ones that swell, catch fire, or die in 18 months.
Use our Solar Monthly Savings Calculator to see your real payback numbers, or check Solar Panel Cost 2026 for the latest hardware pricing.
RV Solar System Optimization: Are Bifacial Panels Worth It?
Bifacial solar panels collect light on both the front and back of the panel. In theory, this boosts output by 5–30% depending on what reflects off your roof surface.
On a white-painted fiberglass RV roof, a bifacial panel realistically sees 8–15% more production. On a flat black rubber membrane — the most common RV material — the gain drops to 2–5%. Real but modest.
The bigger advantage of bifacial panels in rv solar system optimization is that they're typically built to higher quality standards — better temperature coefficients and lower long-term degradation rates. The extra 10% production on day one compounds over 10–20 years.
Honest take: for a fixed roof installation you'll live with for 5+ years, bifacial makes sense at a 10–15% price premium. For a temporary or experimental setup, buy standard mono panels and spend the savings on more battery capacity.
Free Solar Panel Calculator Tools for RV Living (And How to Use Them)

Several free rv solar calculator tools exist online. Here's how to use each one and where they fall short:
NREL's PVWatts Calculator: The gold standard for peak sun hours data by US location. Enter any address and get historical solar irradiance data. Use this to find your real PSH. Free.
Renogy's Solar Calculator: Solid rv solar sizing worksheet tool — input your appliances, get panel and battery recommendations. Biased toward Renogy products but the math is sound.
Battle Born's RV Battery Calculator: Excellent battery bank sizing tool with good guidance on lithium capacity. Free.
RV solar calculator excel spreadsheets: Several boondocking forums share downloadable Excel rv solar sizing worksheets — search the iRV2 forums or Facebook boondocking groups. These let you customize every variable, which online calculators often don't allow.
Victron's MPPT Excel tool: Downloadable from Victron's website — helps you size controllers and configure panel string configurations for complex systems.
Best free tool combo: PVWatts for location-specific PSH → Renogy's calculator for initial sizing → an Excel rv solar sizing worksheet for fine-tuning. Run all three and average the results. If they disagree significantly, your appliance load estimates are likely off — that's almost always where the discrepancy lives.
You can also use our Solar Calculator USA or our dedicated RV Solar Calculator for instant results tailored to your location and rig type.
What Free RV Solar Calculators Get Wrong

Most online free solar panel calculators for rv living underestimate system losses. They use idealized PSH values, don't account for panel temperature derating, and assume 100% inverter efficiency. Real systems run at 70–85% of theoretical output. Always inflate your calculated panel size by 20–25% to account for real-world conditions.
FAQ: Your RV Solar Calculator Questions Answered
It depends entirely on your daily power consumption. Run through the load calculation in Step 1 — add up every appliance's watts × daily hours and multiply by 1.25 for system losses. Then divide that daily watt-hour number by your peak sun hours (use 4.0 for conservative planning) to get your minimum solar wattage. As a rough starting point: a solo boondocker needs 300–500 watts, a full-time couple needs 600–1,000 watts, and a family with work-from-home loads needs 1,000–1,600 watts. See our How Many Solar Panels guide for more detail.
For most full-time RV couples running a 12V fridge, laptops, phones, and fans, 800–1,200 watts of solar with 300–400Ah of LiFePO4 batteries covers daily needs in most US climates. Add Starlink or a second fridge and push to 1,200–1,600 watts.
A standard 13,500 BTU rooftop RV AC draws 1,300–1,800 watts continuously. Running it for 6 hours consumes 8,000–10,000 watt-hours — roughly three times what a full-time couple uses for everything else in an entire day. To run AC on solar alone, you'd need 2,000+ watts of panels, 600–800Ah of lithium, and a 3,000W+ inverter. It's technically possible but expensive and impractical for most RVers. The EcoFlow Wave 2 portable AC is a far more solar-friendly alternative, running directly from DC at around 750 watts.
Convert your daily watt-hours to amp-hours (divide by 12), then multiply by 2 for lead-acid or 1.2 for lithium to account for safe depth of discharge. For two days of cloudy-weather autonomy, double that number. Most full-timers land at 200–400Ah of lithium. Weekend campers get by with 100–200Ah. Read our Battery Storage Guide for full details.
For most modern RV solar applications, yes. Lithium LiFePO4 offers twice the usable capacity per pound, 4–8× more cycle life, faster charge acceptance, and flat voltage discharge curves. Main downsides: higher upfront cost and inability to charge below 32°F without a battery heater. If you camp in freezing temperatures regularly, choose a battery with built-in low-temperature charging protection.
A minimal weekend camper needs 300–600 Wh/day. A full-time couple with laptops and light cooking needs 2,000–3,500 Wh/day. A family with Starlink, a residential fridge, and office equipment needs 4,000–6,000 Wh/day. List every appliance and measure actual usage for 3–5 days with a Kill-A-Watt meter before sizing anything.
Yes — millions of full-time RVers do it. The key is managing your loads, using a 12V-native fridge, avoiding resistive heating elements, and having a backup charging source for extended cloudy stretches. Most full-timers supplement solar with alternator charging while driving and keep a small generator for emergency backup. With 800–1,200 watts solar and 300–400Ah lithium, you can run 90%+ solar-powered across most of the southern and western USA year-round.
Size your inverter to handle your largest simultaneous AC load plus a 25% safety margin. For most full-timers, a 2,000–3,000 watt pure sine wave inverter covers coffee makers, microwaves, and power tools. If you want to run a microwave and coffee maker simultaneously, go 2,500W minimum. Pure sine wave only — modified sine wave damages CPAP machines and many modern appliances.
Yes, but at reduced output. Thin high clouds drop production 10–25%. Heavy overcast drops it 70–90%. Your panels still produce something even on a rainy day, but not enough to keep up with normal consumption. This is why battery bank sizing matters — you need enough storage to ride out 2–3 days of poor solar production without running flat. That's your rv solar backup calculator target.
Yes, with the right equipment. Most 435W panels have open-circuit voltages around 41–49V — compatible with any MPPT controller rated for 100V+ input. The bigger challenge is physical fit: these panels measure roughly 78 × 43 inches. Measure your available roof space carefully before ordering. Two 435W panels give you 870 watts — an excellent mid-range system for a full-time couple if your roof can accommodate them.
Article covers: solar panel calculator for rv living, rv solar system size calculator, rv wattage calculator for solar, rv battery runtime calculator solar, off-grid rv solar calculator, rv solar energy calculator, rv appliance wattage calculator, small rv solar calculator, rv solar + lithium battery upgrade cost in California, victron inverter rv solar installation in Northern California, 50 amp rv solar system, rv solar and power management system, rv solar system optimization, bifacial solar panels rv, and dozens more related topics.
Want to explore more? Check our Van & Boat Life Solar Guide for mobile builds, read our full solar guides library, or learn more about our mission. For any questions, contact our team. Always review our Privacy Policy and Terms of Service.
Ready to Size Your RV Solar System?
Don't guess your solar needs. Use our professional RV solar calculator to get the exact panel, battery, and inverter requirements for your rig — based on your actual loads and location.
🚐 Run RV Solar CalculatorFast • Accurate • 100% Free to Use